How to Write an Invoice: Step-by-Step Guide for Beginners (2026)
Invoicing Mastery Series
This guide is part of a comprehensive series. Explore all 33 topics:
Writing your first invoice can feel intimidating — but it doesn't have to be. Whether you're a freelancer billing your first client, a consultant sending a project invoice, or a small business owner getting formal about payments, this guide walks you through every field, every decision, and every best practice.
By the end, you'll know exactly how to write a professional invoice that gets paid on time.
What Is an Invoice?
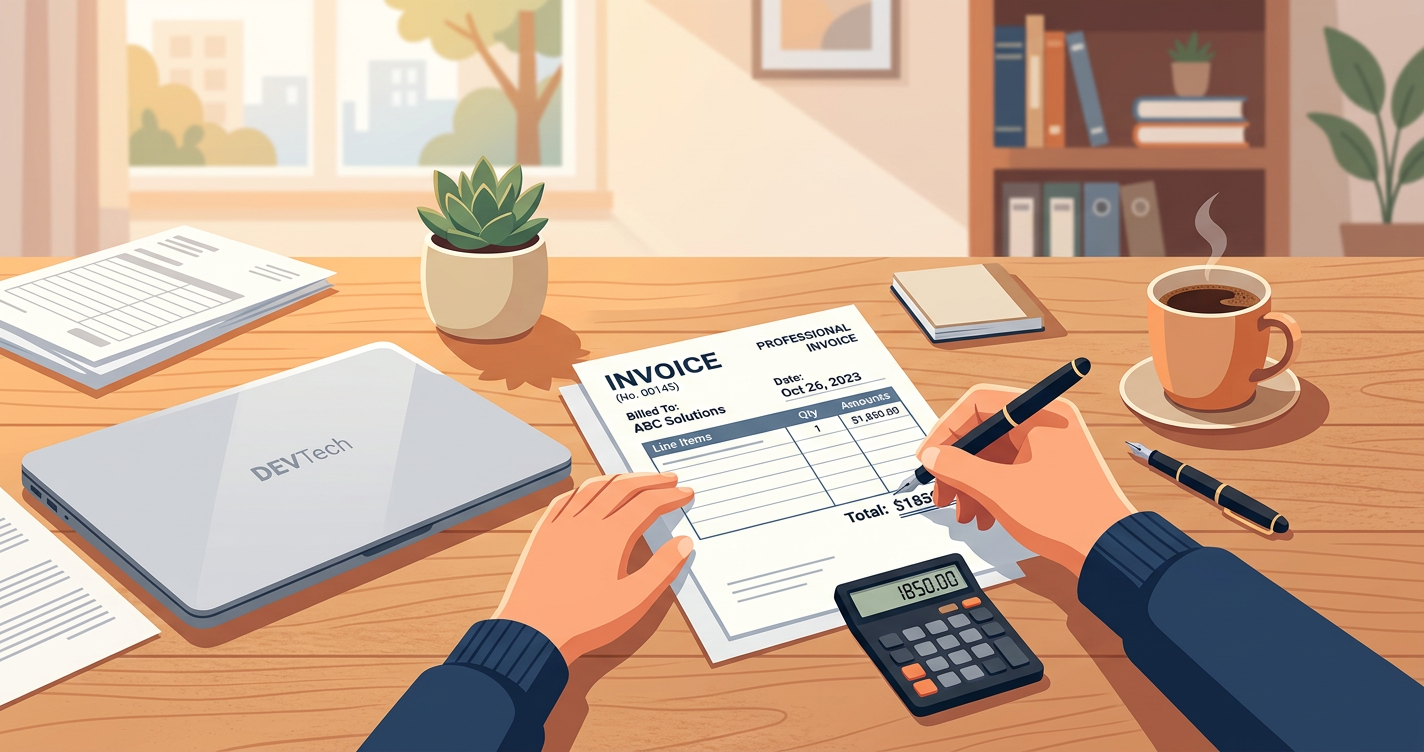
An invoice is a formal payment request from a seller to a buyer. It documents what was sold, how much is owed, and when payment is due.
An invoice is a formal payment request from a seller to a buyer. It documents what was sold, how much is owed, and when payment is due. Unlike a receipt (which confirms payment received), an invoice is sent before payment to request it.
Invoices serve three purposes:
- Legal — proof of a business transaction for tax authorities
- Financial — tracks money owed to your business (accounts receivable)
- Professional — establishes credibility and clear terms with clients
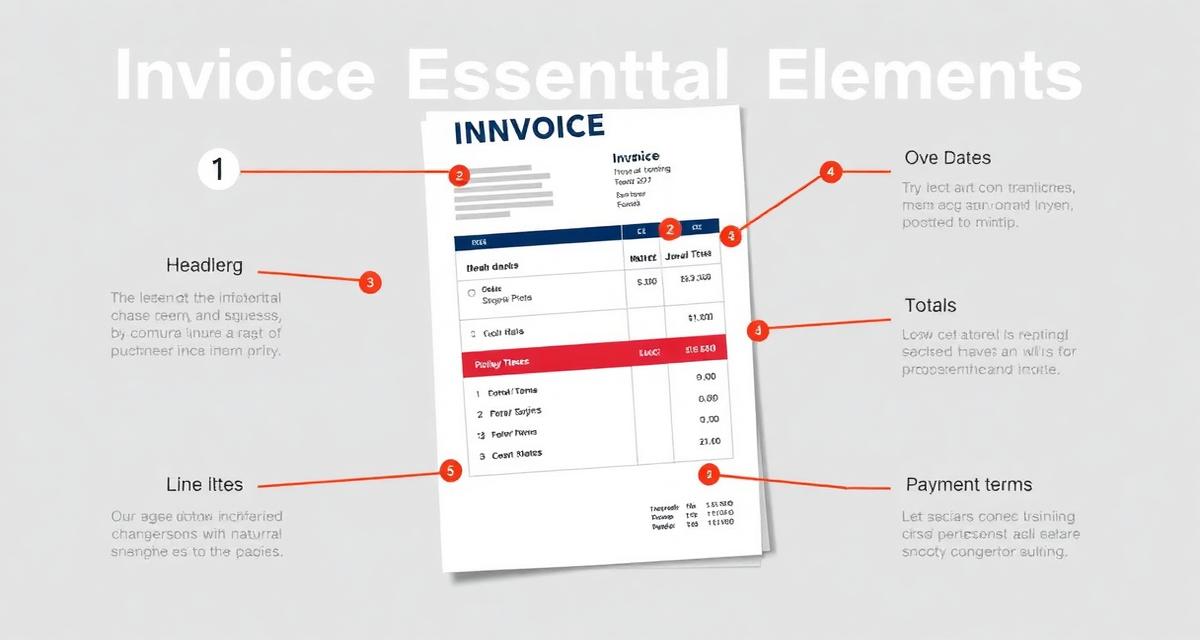
Step 1: Add Your Business Details
At the top of your invoice, include:
At the top of your invoice, include:
- Business name — your registered business name or your name as a sole proprietor
- Address — physical or registered business address
- Email and phone — so the client can reach you with questions
- Tax ID — your GST number, VAT number, TIN, ABN, or EIN depending on your country
- Logo (optional but recommended) — adds professionalism
Step 2: Add Client Details
Below your details, add the "Bill To" section:
Below your details, add the "Bill To" section:
- Client's business name — or individual's name
- Client's address
- Client's tax ID — important for B2B invoices in many countries (required for GST/VAT)
- Contact person — helpful for larger companies where invoices go to accounts payable
Step 3: Invoice Number and Dates
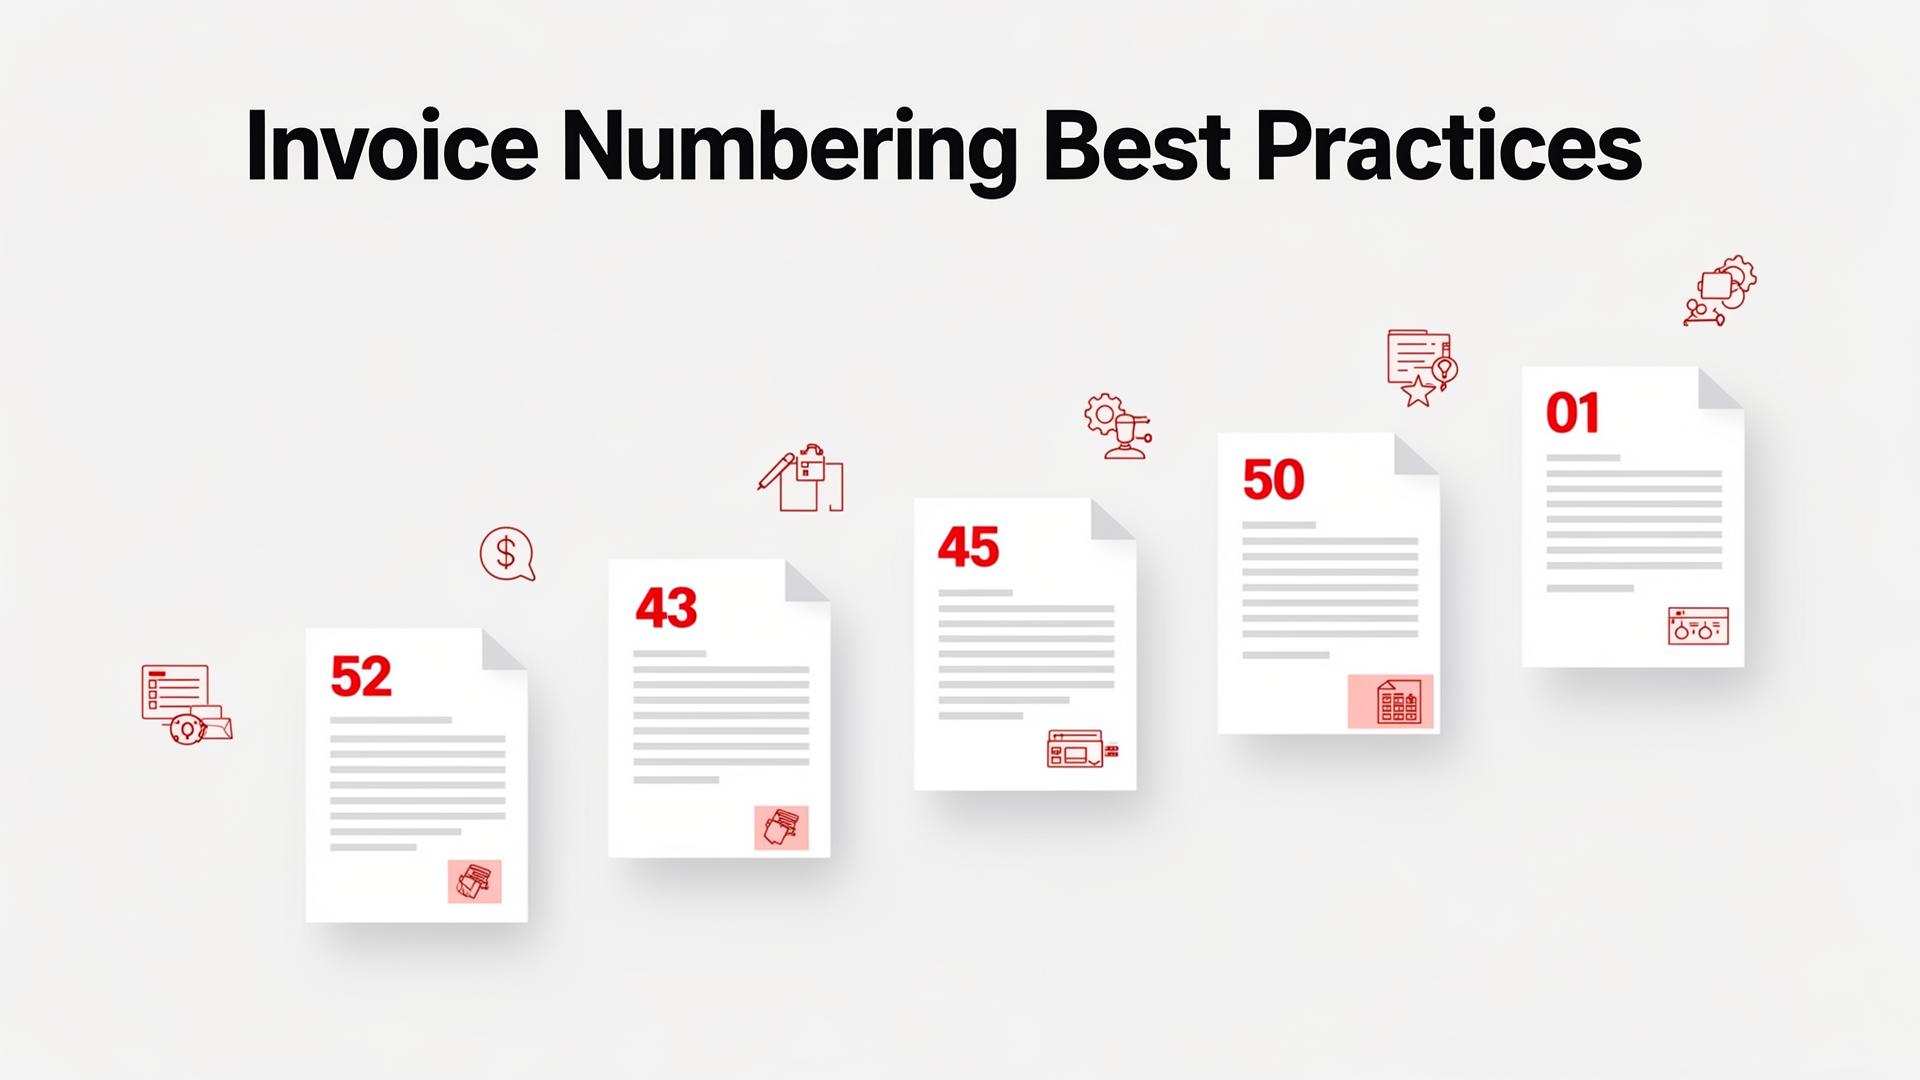
Step 3: Invoice Number and Dates includes: Invoice number — a unique identifier you'll never reuse.
- Invoice number — a unique identifier you'll never reuse. Start with INV-001 or 2026-001
- Invoice date — the date you're issuing the invoice (usually today)
- Due date — when payment is expected. Common terms:
- Due on receipt — payment expected immediately
- Net 15 — due within 15 days
- Net 30 — due within 30 days (most common)
- Net 60 — due within 60 days (for larger clients)
Step 4: Itemize Your Services or Products
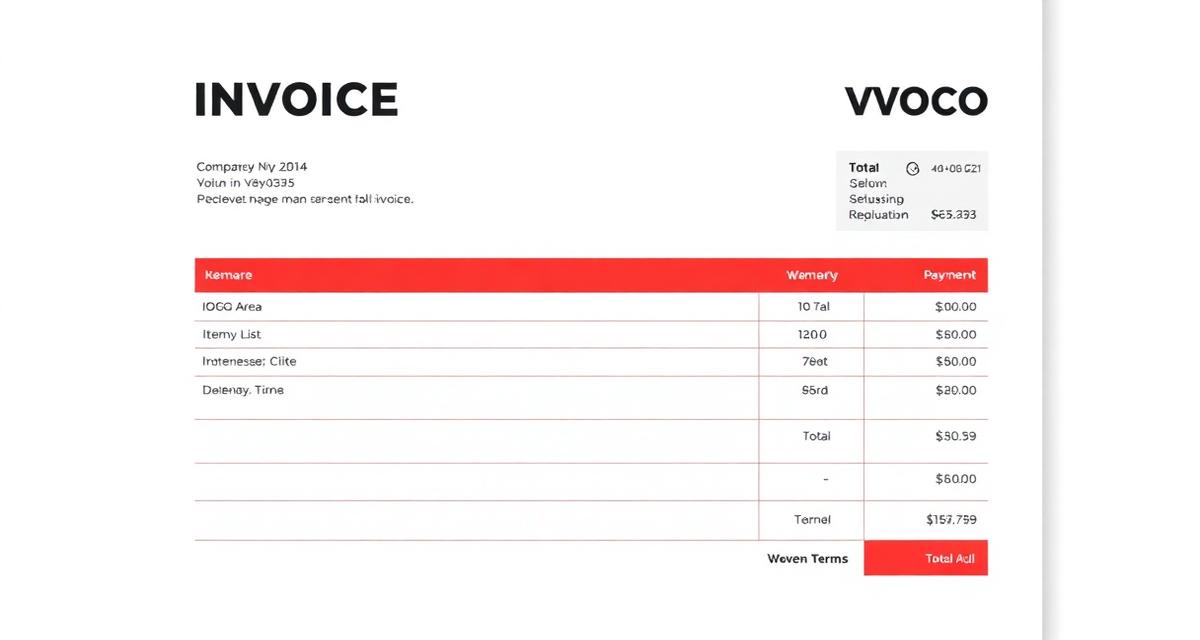
The line items table is the heart of your invoice.
The line items table is the heart of your invoice. Each row should include:
| Column | Example |
|---|---|
| Description | Website redesign — homepage and about page |
| Quantity | 1 (or hours: 15) |
| Rate | $2,500 (or $150/hour) |
| Tax | 18% GST, 20% VAT, etc. |
| Amount | $2,500 |
Pro tip: Be specific in descriptions. "Website work" is vague — "Website redesign: homepage, about page, and contact form (15 hours)" tells the client exactly what they're paying for and reduces disputes.
Step 5: Calculate Totals
Step 5: Calculate Totals includes: Subtotal — sum of all line items before tax Tax — applicable GST, VAT, or sales tax.
- Subtotal — sum of all line items before tax
- Tax — applicable GST, VAT, or sales tax. Show the rate and amount clearly
- Discount (if applicable) — show the original amount and the discount applied
- Total due — the final amount the client owes, prominently displayed
Step 6: Add Payment Instructions
Tell the client how to pay:
- Bank transfer — account name, bank name, account number, routing/sort code, SWIFT (for international)
- Online payment — payment link (PayPal, Stripe, Wise, etc.)
- Other methods — cheque, cash, mobile payment (M-Pesa, UPI, etc.)
Step 7: Add Notes and Terms
Step 7: Add Notes and Terms includes: Thank you note — "Thank you for your business" builds relationships Late payment terms — "Invoices unpaid after 30 days are subject to 1.
- Thank you note — "Thank you for your business" builds relationships
- Late payment terms — "Invoices unpaid after 30 days are subject to 1.5% monthly interest"
- Payment reference — ask clients to include the invoice number in their payment reference
Common Invoice Mistakes to Avoid
Common Invoice Mistakes to Avoid includes: Missing or duplicate invoice numbers — causes accounting chaos and tax audit issues Vague descriptions — leads to client disputes and delayed payment
- Missing or duplicate invoice numbers — causes accounting chaos and tax audit issues
- Vague descriptions — leads to client disputes and delayed payment
- Wrong tax calculation — under-charging means you owe the government; over-charging loses client trust
- No due date — without a clear deadline, clients deprioritize payment
- Missing payment instructions — the client wants to pay but doesn't know how
Skip the manual work — use Invoicemonk's invoice generator to create a professional invoice in under 5 minutes. No signup required.
More in this series (33 articles)
From this series
Master the art of professional invoicing to get paid faster and look more professional.
Related Topics
Digital Marketing, SEO Specialist, Content Creator & Product Professional
Olayinka is a digital marketer, content creator, growth and SEO specialist with 10+ years helping businesses in Nigeria, the UK, the US, Australia, and Dubai achieve their goals online.