How to Create a Professional Invoice Step by Step — With Examples (2026)
Invoicing Mastery Series
This guide is part of a comprehensive series. Explore all 33 topics:
You've just completed your first freelance project or made your first sale. Now comes a moment that makes many new business owners nervous: sending your first invoice. Don't worry—creating a professional invoice is simpler than you think, and this step-by-step guide will walk you through everything.
By the end of this guide, you'll have the confidence and knowledge to create invoices that look professional, include all necessary information, and help you get paid faster.
Why Your First Invoice Matters
Your invoice is more than a payment request—it's a reflection of your professionalism.
Your invoice is more than a payment request—it's a reflection of your professionalism. A well-crafted invoice:
- Builds credibility: Shows clients you're a serious professional
- Reduces payment delays: Clear invoices get paid faster
- Protects you legally: Creates a record of the transaction
- Simplifies your taxes: Makes record-keeping easier
According to recent industry data, 83% of payment delays are caused by invoice errors or confusion. Getting it right from the start sets you up for success.
Before You Create: Essential Information to Gather
Before opening any invoicing tool, gather these details:
Before opening any invoicing tool, gather these details:
Your Business Information
- Your business or legal name
- Your address (or registered business address)
- Phone number and email
- Tax identification number (if applicable)
- Your logo (optional but recommended)
Client Information
- Client's business or legal name
- Billing address
- Contact person's name and email
- Any purchase order (PO) numbers required
Project Details
- Services or products delivered
- Dates of work (if applicable)
- Agreed-upon rates or prices
- Any agreed-upon payment terms
Step 1: Choose Your Invoicing Method
You have three main options for creating invoices:
You have three main options for creating invoices:
Option A: Spreadsheets (Excel/Google Sheets)
Pros: Free, flexible, you control everything
Cons: Time-consuming, no tracking, unprofessional appearance, manual calculations prone to errors
Option B: Word/Document Templates
Pros: Free, customizable design
Cons: Manual calculations, no payment tracking, limited functionality
Option C: Professional Invoicing Software (Recommended)
Pros: Professional templates, automatic calculations, payment tracking, reminders, tax reports, looks more credible
Cons: Some tools have monthly fees (though many offer Pro plans)
Our recommendation: Start with professional invoicing software like Invoicemonk. It's designed specifically for freelancers and small businesses, and the time you save is worth it. Plus, businesses using invoicing software get paid an average of 14 days faster.
Step 2: Add Your Business Information
The top of your invoice should prominently display your business identity:
The top of your invoice should prominently display your business identity:
- Business name: Your registered business name or your name if you're a sole proprietor
- Logo: Include your logo if you have one—it adds professionalism
- Contact details: Address, email, phone number
- Tax registration: Include your VAT, GST, TIN, or other tax identification numbers as required by your country
Tip: Once you set this up in invoicing software, it's saved for all future invoices.
Step 3: Add Client Details
Include complete and accurate client information:
Include complete and accurate client information:
- Company name: Use their official business name
- Billing address: The address where invoices should be sent
- Contact person: The name of who handles payments
- Reference numbers: Include any PO numbers or project codes they've provided
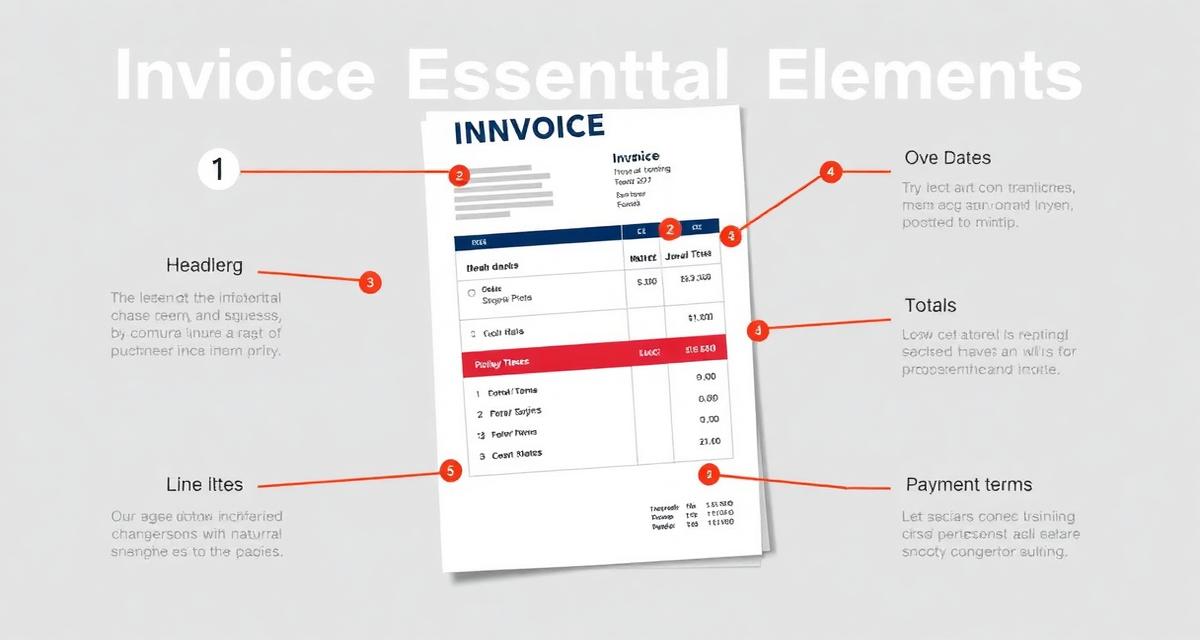
Important: Always verify client details before sending. Invoices sent to the wrong person or department can delay payment by weeks. Learn more about essential invoice elements.
Step 4: Create a Unique Invoice Number
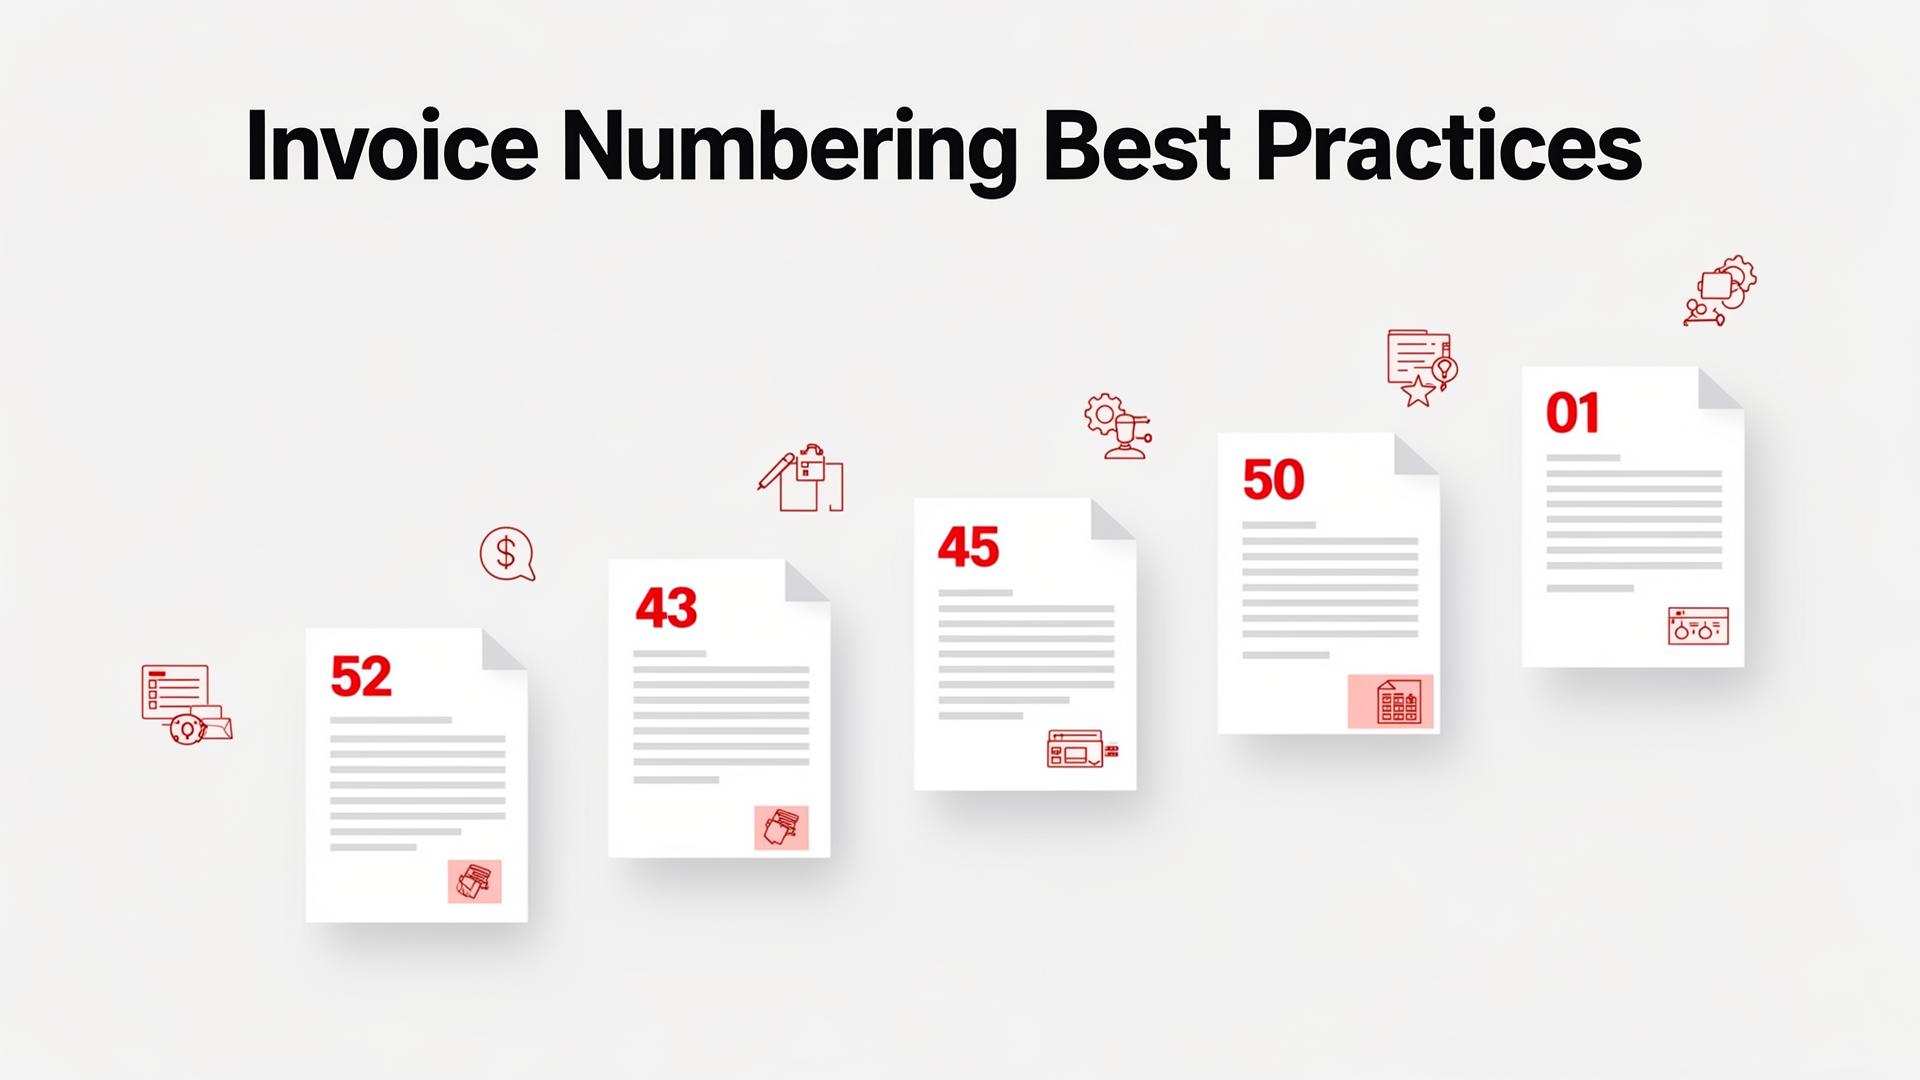
Every invoice needs a unique identifier.
Every invoice needs a unique identifier. This is essential for:
- Tracking which invoices are paid
- Referencing invoices in communications
- Tax compliance and audit readiness
- Avoiding duplicate payments
Simple Numbering Systems for Beginners
Choose one format and stick with it:
- Sequential: INV-001, INV-002, INV-003
- Date-based: 2026-001, 2026-002 (resets each year)
- Combined: INV-2026-02-001 (includes year and month)
- Client-coded: ABC-001 (useful for repeat clients)
Key rule: Never reuse an invoice number. If you void an invoice, document it and skip to the next number. For more details, see our guide on invoice numbering best practices.
Step 5: Specify Dates
Your invoice needs two critical dates:
Your invoice needs two critical dates:
Invoice Date
This is the date you create and send the invoice. It's important for:
- Starting the payment term countdown
- Tax reporting purposes
- Record keeping
Due Date
This is when payment is expected. Be specific—"February 15, 2026" is better than "Due in 30 days."
Choosing Appropriate Payment Terms
- Due on Receipt: Payment expected immediately (good for small amounts)
- Net 15: Payment due within 15 days (recommended for new clients)
- Net 30: Payment due within 30 days (industry standard for many sectors)
- 50% Upfront: Half before work, half upon completion (recommended for large projects)
For detailed guidance on setting payment terms, read our payment terms guide.
Step 6: Itemize Your Work
This is the heart of your invoice. List each service or product with clear details.
This is the heart of your invoice. List each service or product with clear details.
For Each Line Item, Include:
- Description: What the service or product is
- Quantity: Hours, units, or "1" for fixed-fee items
- Rate: Price per hour/unit or project fee
- Line total: Quantity × Rate
Example: Hourly Billing
"Website development - Homepage design and build (15 hours @ $75/hr) = $1,125"
Example: Project-Based Billing
"Logo design package - Includes 3 concepts, 2 revisions, and final files = $800"
Tips for Clear Descriptions
- Be specific: "Strategic marketing consultation" not just "consultation"
- Include dates if relevant: "Services provided January 15-31, 2026"
- Reference deliverables: "Including final report and presentation deck"
- Match the language in your contract or proposal
Step 7: Calculate Totals and Taxes
Show the math clearly:
- Subtotal: Sum of all line items before tax
- Tax: VAT, GST, sales tax, or other applicable taxes
- Total Due: The final amount (make this prominent!)
When to Charge VAT/GST
Tax requirements vary by country and your registration status:
Tax requirements vary by country and your registration status:
- Nigeria: VAT registration required above threshold (FIRS)
- UK: VAT if turnover exceeds £85,000 (HMRC)
- Australia: GST if turnover exceeds $75,000 (ATO)
- USA: Sales tax varies by state
- Canada: GST/HST based on province and turnover
If you're not registered for VAT/GST, you typically can't charge it but should state "Not VAT registered" on your invoice.
Step 8: Add Payment Instructions
Make it as easy as possible for clients to pay you.
Make it as easy as possible for clients to pay you. Include:
Bank Transfer Details
- Bank name
- Account name
- Account number
- Sort code / Routing number / IBAN (as applicable)
- SWIFT/BIC for international payments
Online Payment Options
- Payment link (if using invoicing software)
- PayPal email
- Stripe payment link
- Mobile money details (for Nigeria: Paystack, Flutterwave)
Pro tip: Offering multiple payment methods increases the chance of prompt payment. Invoicing software like Invoicemonk automatically includes payment links on your invoices.
Step 9: Review Before Sending
Before hitting send, run through this checklist:
Before hitting send, run through this checklist:
- ☑️ Is your business name and contact info correct?
- ☑️ Is the client name and address accurate?
- ☑️ Is the invoice number unique?
- ☑️ Are the invoice date and due date correct?
- ☑️ Are all services/products listed with clear descriptions?
- ☑️ Are quantities and rates accurate?
- ☑️ Is the math correct (subtotal + tax = total)?
- ☑️ Are your payment details complete?
- ☑️ Have you included any required PO or reference numbers?
- ☑️ Is the total amount due prominently displayed?
Taking 2 minutes to review can save days of back-and-forth if there's an error.
Step 10: Send and Track Your Invoice
When to Send
The faster you send your invoice, the faster you get paid. Waiting days or weeks to invoice sends the message that payment isn't a priority.
- For completed projects: Send immediately upon delivery
- For ongoing work: Establish a regular schedule (weekly, bi-weekly, monthly)
- For milestones: Send when each milestone is completed and approved
The faster you send your invoice, the faster you get paid. Waiting days or weeks to invoice sends the message that payment isn't a priority.
How to Send
Email is standard for most businesses Include a brief, professional message in the email body
- Email is standard for most businesses
- Include a brief, professional message in the email body
- Attach the invoice as a PDF (not editable Word document)
- Use invoicing software for automatic delivery and tracking
Follow-Up Strategy
- 3 days before due: Friendly reminder email
- Due date: Payment due notification
- 7 days overdue: Polite follow-up
- 14+ days overdue: Firmer reminder, consider phone call
Learn more about payment follow-ups in our guide on automatic payment reminders.
Your First Invoice Template
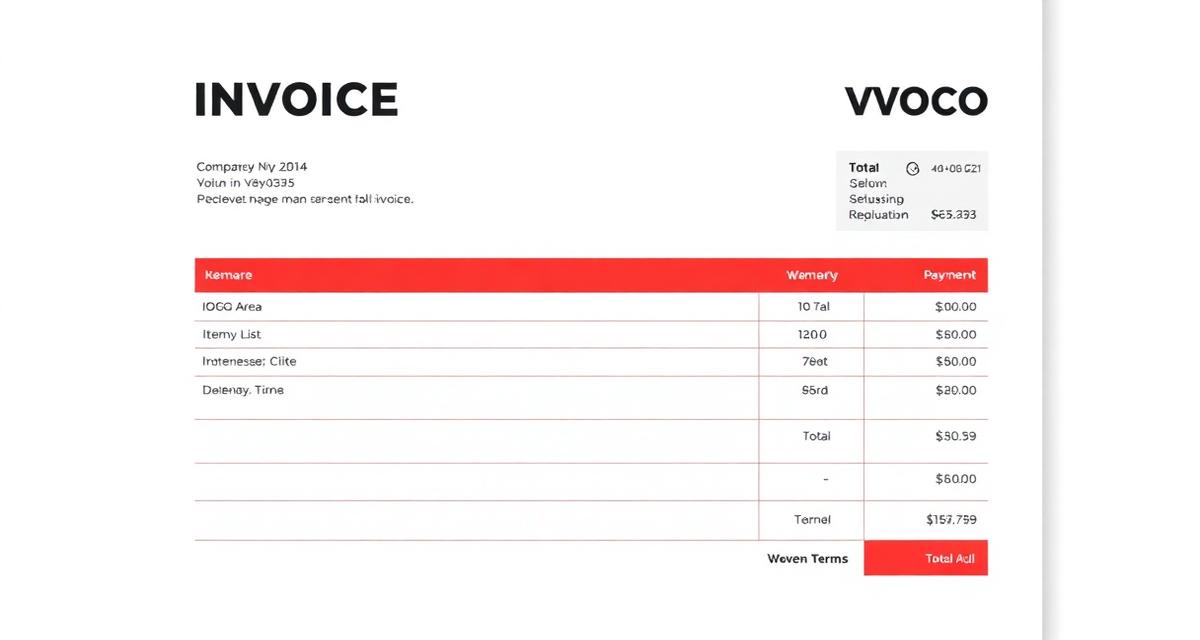
Here's a simple structure you can follow:
Here's a simple structure you can follow:
[YOUR LOGO]
[Your Business Name]
[Your Address]
[Your Email | Your Phone]
[Tax Registration Number]

INVOICE

Invoice #: INV-001
Invoice Date: February 3, 2026
Due Date: February 18, 2026 (Net 15)

Bill To:
[Client Name]
[Client Address]
[Client Contact]

---

Description                          Qty    Rate     Amount
Website design - Homepage            1      $800     $800
Content writing - 5 pages            5      $100     $500

---

Subtotal:                                            $1,300
VAT (7.5%):                                          $97.50
TOTAL DUE:                                           $1,397.50

---

Payment Methods:
Bank Transfer: [Account details]
Online: [Payment link]

Thank you for your business!
Next Steps: Building Your Invoicing System
Congratulations! You now know how to create a professional invoice.
Congratulations! You now know how to create a professional invoice. Here's how to build on this foundation:
- Set up invoicing software: Invoicemonk is designed for freelancers and small businesses
- Create your template: Save your business info and branding for future invoices
- Establish payment terms: Decide on standard terms for all clients
- Set up reminders: Automate follow-ups to reduce late payments
- Track everything: Monitor paid, pending, and overdue invoices
Common First Invoice Questions
Should I include my personal address on invoices?
If you work from home and prefer privacy, consider using a PO Box, virtual office address, or simply your city and country without the full address. Check your local requirements.
If you work from home and prefer privacy, consider using a PO Box, virtual office address, or simply your city and country without the full address. Check your local requirements.
What if I'm not registered for VAT/GST?
Simply don't charge it. You can note "Not VAT/GST registered" on your invoice for clarity.
Simply don't charge it. You can note "Not VAT/GST registered" on your invoice for clarity.
How do I handle different currencies?
Specify the currency clearly (USD, GBP, NGN, etc. ) and include international bank details (IBAN, SWIFT) for cross-border payments.
Specify the currency clearly (USD, GBP, NGN, etc.) and include international bank details (IBAN, SWIFT) for cross-border payments.
What if the client disputes the invoice?
Stay professional, review the original agreement, and discuss the specific concern. Having a contract helps prevent disputes.
Stay professional, review the original agreement, and discuss the specific concern. Having a contract helps prevent disputes.
Related Resources
Continue building your invoicing expertise:
More in this series (33 articles)
From this series
Master the art of professional invoicing to get paid faster and look more professional.
Related Topics
Digital Marketing, SEO Specialist, Content Creator & Product Professional
Olayinka is a digital marketer, content creator, growth and SEO specialist with 10+ years helping businesses in Nigeria, the UK, the US, Australia, and Dubai achieve their goals online.